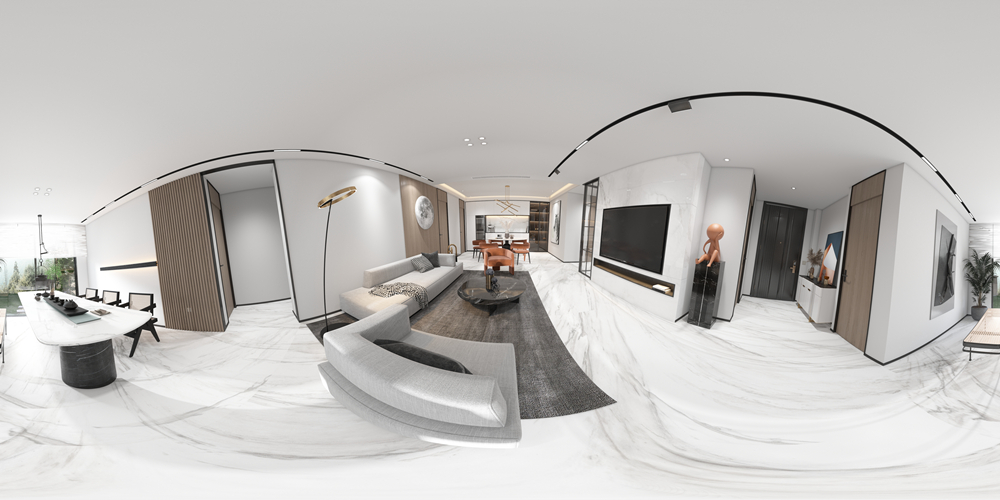
How To Make a Panorama: A Step - by - Step Guide
Creating a panorama can seem like a daunting task, but with the right approach and tools, it's an achievable and rewarding endeavor. Whether you're aiming to capture a vast landscape, a bustling city street, or a unique interior space, follow these steps to craft a stunning panorama.

Planning Your Panorama
First, scout for an ideal location. Look for a scene with a wide expanse and interesting visual elements. A mountain range at sunset, with the warm light hitting the peaks and the valleys in shadow, can make for a dramatic panorama. Or, consider a busy market square filled with colorful stalls, people, and architecture. Decide on the direction of your panorama - horizontal for sweeping landscapes or vertical for emphasizing height, like a tall building or a waterfall.
Think about the time of day as well. Golden hour, just after sunrise or before sunset, offers soft, warm light that enhances colors and creates long shadows, adding depth to your panorama. Avoid shooting in the middle of the day when the light is harsh and can cause unflattering contrasts.
Selecting and Preparing Your Equipment
If you're using a DSLR or mirrorless camera, a wide - angle lens is highly recommended. A focal length in the 16 - 35mm range for full - frame cameras (or the equivalent for crop - sensor models) will help you capture a broad field of view. A tripod is essential for stability; it ensures your camera remains steady between shots, preventing blurriness and inconsistent framing.
Before shooting, check your camera settings. Switch to manual mode to maintain a consistent exposure throughout the panorama. Set an appropriate aperture, like f/8 - f/11, for a good depth of field, keeping both the foreground and background in focus. Adjust the shutter speed and ISO according to the lighting conditions. If you're using a smartphone, most modern devices have a panorama mode. However, a tripod attachment can still improve stability.
Capturing the Images
Begin by framing the first shot. Make sure to overlap each subsequent shot by about 30 - 50%. This overlap is crucial for the stitching software to accurately align and blend the images later. When using a camera, rotate it slightly (about 30 - 40 degrees) between each shot. Keep an eye on the horizon or any vertical lines; try to keep them straight to avoid a distorted final image.
If there are moving objects in the scene, like cars or people, time your shots carefully. You can either wait for them to clear the frame or try to capture them in a way that adds to the story of the panorama. For example, a few people walking in a park can give a sense of life and activity.
Stitching and Post - Processing
Once you have all your shots, it's time to stitch them together. Adobe Photoshop has a powerful panorama - stitching feature. Import your images, and the software will automatically detect and align them. However, you may need to fine - tune the alignment or adjust the blending of colors.
There are also free software options like Hugin, which is open - source and offers more advanced control over the stitching process. After stitching, enhance your panorama in photo - editing software. Adjust the contrast to make the colors pop, increase the sharpness to bring out details, and crop the image to remove any unnecessary edges. With these steps, you'll be well on your way to creating a breathtaking panorama that showcases your unique perspective.