

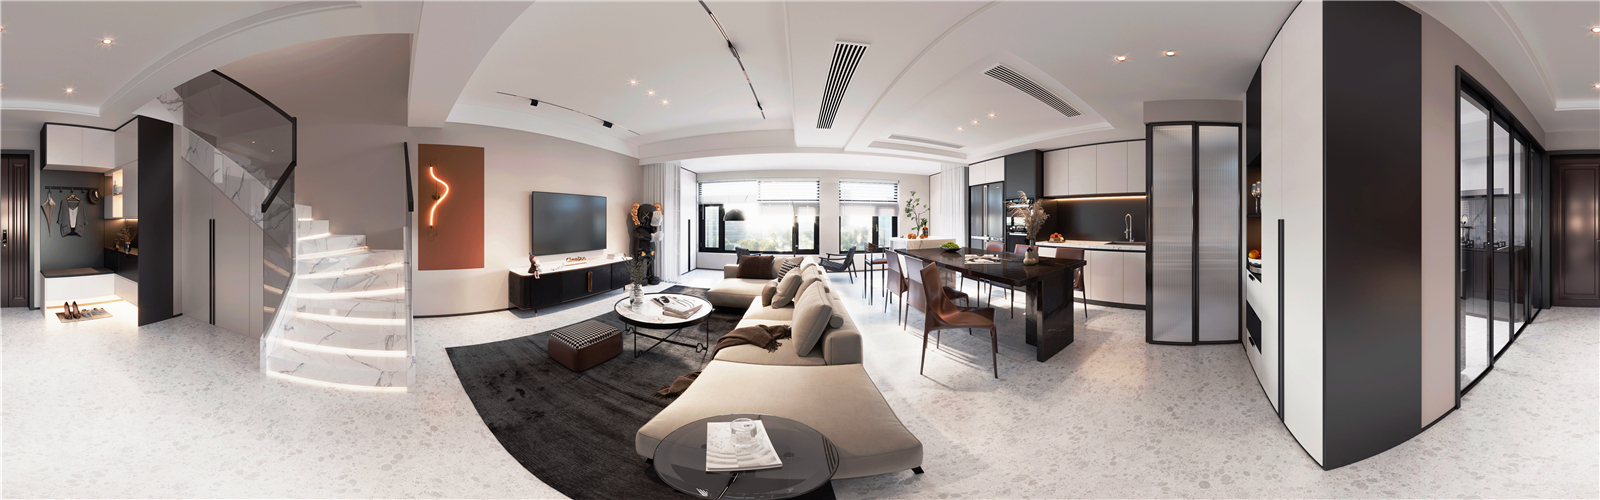
Panoramic Photo Creation: A New Path to Wide - Angle Wonders
Panoramic photos open up a world of immersive, expansive views, allowing you to capture scenes in a way that standard photos simply can't. Creating these captivating images is an exciting blend of technical know - how and creative thinking. Here's a unique guide to making panoramic photos that will set your work apart.

Location: Beyond the Obvious
When choosing a location, don't just stick to well - known scenic spots. Look for hidden gems like a small, winding alley in an old European town. The aged walls, cobblestone streets, and the occasional glimpse of a charming courtyard can create a sense of mystery and depth in your panorama. Or consider an industrial complex at sunrise. The large machinery, smokestacks, and the warm, soft light can result in a dramatic, industrial - themed panorama. Think about the time of day not only for lighting but also for the activity. A local farmers' market just as it opens, with vendors setting up stalls and the first customers browsing, can add a lively, dynamic element to your photo.
Equipment Setup
You don't need the most expensive camera gear to start. A smartphone with a good camera can be a great starting point, as many have built - in panorama - shooting capabilities. If you're using a DSLR or mirrorless camera, stability is crucial. A tripod is a must, and a ball - head tripod can offer smooth, precise adjustments. A wide - angle lens (around 18 - 30mm for full - frame cameras) is ideal for capturing a broad field of view. In manual mode, set a consistent ISO, aperture, and shutter speed. Locking these settings ensures that each frame in your sequence has the same exposure, preventing uneven lighting in the final stitched image. A remote shutter release can also help minimize camera shake.
Capturing the Shots
Begin by choosing a strong starting point. It could be a unique piece of street art on a wall. Take the first photo, making sure the composition is balanced. As you move to take subsequent photos, rotate the camera in a smooth, continuous motion. For horizontal panoramas, use a visible reference like a power line or the edge of a building to keep the camera level. Overlap each shot by about 40%. This overlap is essential for the stitching software to align and blend the images seamlessly. Be aware of moving objects. Try to time your shots so that cars, cyclists, or pedestrians don't cross the edges of frames, as this can cause glitches during stitching. If you're shooting in a windy area, use a lens hood to protect against lens flare and keep debris off the lens.
Stitching and Post - Processing
There are numerous software options for stitching your panoramic photos. Some cameras come with built - in stitching tools, while others can use third - party software such as Adobe Photoshop, Lightroom, or specialized panorama - stitching software like Hugin. Import your photos into the software. Most stitching programs will automatically detect the overlapping areas and align the images. However, you may need to manually adjust the alignment in some cases, especially if there are complex or feature - less areas. After stitching, enhance the image. Adjust the contrast to add depth, increase the saturation to make colors more vivid, and use the cropping tool to give the panorama a clean, professional look.
With this approach, you'll be on your way to creating panoramic photos that not only showcase beautiful scenes but also tell a unique story and engage your viewers.