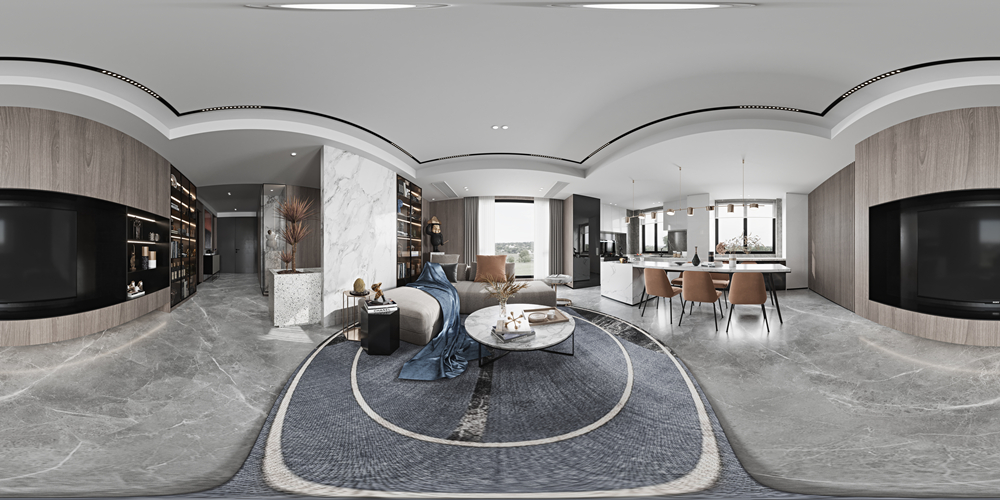
How to combine Enscape renderer with SketchUp to generate 2:1 panoramic images and convert them into short videos for sharing on social media platforms in SketchUp?
I. Software Installation and Basic Setup:
First, you need to install the Enscape plugin in SketchUp. You can obtain the installation package of the Enscape plugin from the official website or other recommended download platforms, and follow the instructions to install it.
After installation, launch SketchUp and bring up the Enscape panel to ensure that the plugin is functioning properly.

II. Scene Adjustment and Camera Settings:
Open your SketchUp model, use your mouse and keyboard to adjust the camera position and viewpoint until you are satisfied with the current model scene.
In the Enscape panel, select the appropriate camera position for rendering panoramic images, and adjust the effects such as resolution and output settings.
III. Rendering and Output Settings:
In the Enscape panel, click the render button and wait a moment to export the rendered SketchUp panorama.
You can choose different resolutions and output formats according to your personal needs to meet different requirements.
IV. Panorama Synthesis and Editing:
After rendering, the panorama can be uploaded to a third-party platform (such as "zippano") for further synthesis and editing.
In the synthesis process, titles, scenes, hotspots (such as arrows and buttons), and audio (such as music) can be added to enhance the experience.
After the synthesis is complete, the panoramic photo can be shared on social media platforms.
By following these steps and resources, you can learn how to generate high-quality panoramic views in SketchUp using the Enscape plugin and how to combine and share them.