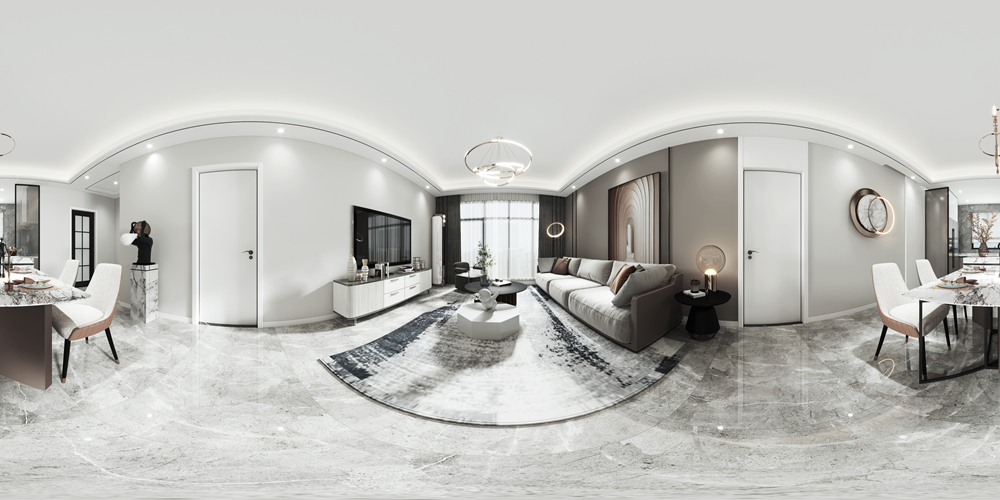
Unlocking the Secrets of Panoramic Photo Creation
Panoramic photos possess a unique allure, allowing you to capture expansive views that standard photos can't match. Whether you're a hobbyist with a smartphone or a professional with high - end gear, creating a stunning panoramic photo is an achievable goal. Here's a distinct guide on how to embark on this creative journey.

Finding the Perfect Panoramic Subject
Think beyond the typical landscapes and cityscapes. Look for locations with a sense of narrative. A local community event, like a cultural festival filled with traditional costumes, music, and dancing, can make for a vibrant panoramic subject. Or consider an industrial area during shift change, with workers streaming out of factories and vehicles moving around. The time of day can also transform a location. A marina at sunset, with boats bobbing in the water and the sky ablaze with colors, offers a dreamy backdrop. When scouting, pay attention to elements that lead the eye, such as a long, winding fence in a field or a row of colorful umbrellas on a beach.
Equipment Considerations
Smartphones have made panoramic photography incredibly accessible. Many come with dedicated panorama - shooting modes. However, if you're using a DSLR or mirrorless camera, stability is key. A tripod is essential, and for added precision, a panoramic head can be a great investment. It allows for smooth, controlled rotation as you capture your sequence. When it comes to lenses, a wide - angle lens is ideal, but a standard lens can also be used by taking more photos. Set your camera to manual mode. Lock the exposure to ensure consistent brightness across all frames. Adjust the ISO based on the lighting conditions; for example, use a low ISO in well - lit situations to minimize noise. Fix the white balance according to the dominant light source, whether it's natural sunlight or artificial indoor lighting.
Capturing the Panoramic Series
Begin by visualizing the final panorama in your mind. Select a starting point with a strong visual element, like a large, ancient tree in a park. Take the first photo, making sure the composition is balanced. As you move to capture subsequent shots, rotate the camera in a slow, even motion. For horizontal panoramas, use the edge of a building or a natural line in the scene to keep the camera level. Overlap each shot by approximately 35 - 45%. This overlap is crucial for the stitching software to accurately align and blend the images. Be cautious of moving objects; try to time your shots so that they don't disrupt the flow of the panorama. If shooting in a windy area, use a lens hood to reduce lens flare and protect the lens from debris.
Stitching and Post - Processing
There are various software options for stitching your panoramic photos. Some cameras come with built - in stitching tools, while others can use third - party software such as Adobe Lightroom, Photoshop, or specialized panorama - stitching programs like PTGui. Import your photos into the software. Most stitching programs will automatically detect the overlapping areas and align the images. However, you may need to manually fine - tune the alignment in some cases, especially if there are complex or feature - less areas. After stitching, enhance the image. Adjust the contrast to bring out depth, play with the saturation to make colors more vivid, and use the cropping tool to give the panorama a clean, professional finish.
By following these steps, you'll be well on your way to creating panoramic photos that not only showcase beautiful scenes but also tell a story and captivate your audience.